Today’s article is a personal look into my process of logo design and how I complete it from start to finish. I’m using a project from my UI/UX (User Interface/User Experience) course to demonstrate this concept.
The Project
Having a project with objectives and a purpose is the first step before you even start drawing. You need a base for ideas to flow. My project was to create branding for a dental hygiene brand that I built from the ground up. I started off identifying 3 main keywords that will describe the vibe of the logo, and the harder part is making sure they shine through. If you’re working for a client, it’s important to be on the same page with the keywords and the message of the logo.
Research
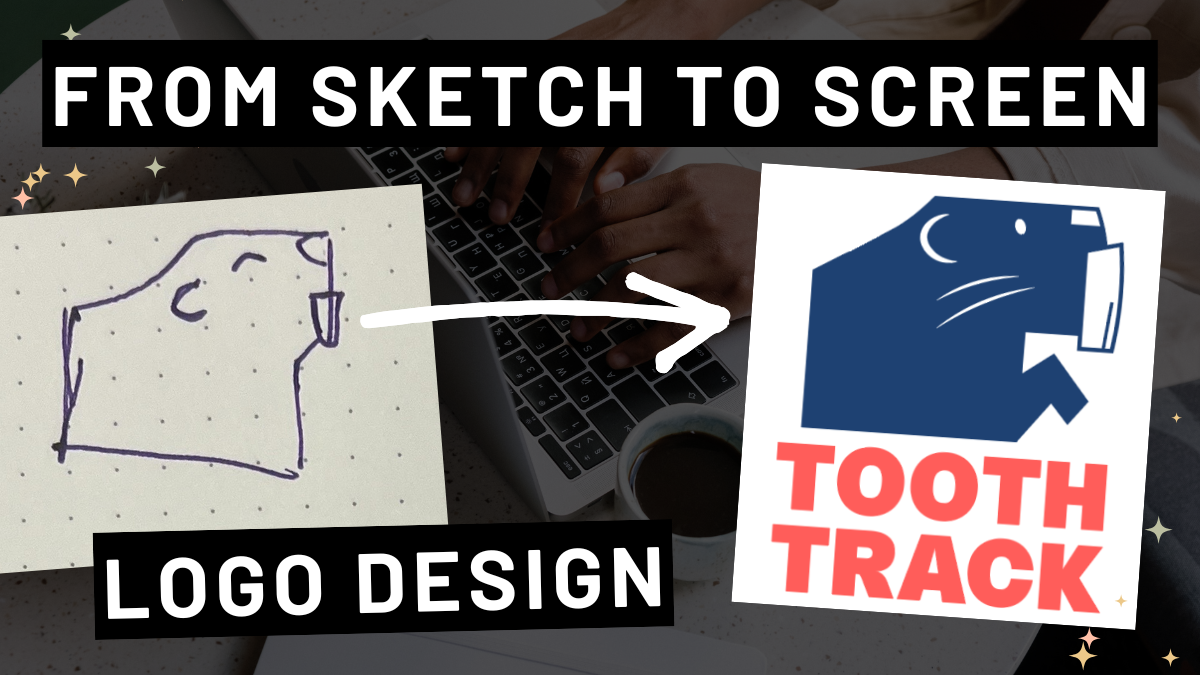
Next, I looked online for what other dental logos looked like to push me off. I abstracted shapes, tried to use letters within the design, and later started to think more symbolically about the brand. It’s important to think out of the box but also stay grounded to what someone’s first impression will be when they see the logo. I did some rough sketches on paper to start.
My Keywords
Resilient: able to withstand or recover quickly from difficult conditions
Positive: optimistic, affirmative, constructive
Healthy: wholesome and robust
First Iterations
This is where I started digitizing the logo. As you can see, I landed on a beaver to represent my brand. They are known for A) having strong, healthy teeth and B) Being resilient creatures, I mean, they build dams all over the place! An important note is to ALWAYS START IN BLACK AND WHITE. Do not add color until you have your logo solidified.
Some critiques I got on my first few iterations were:
- The teeth were not pronounced enough in my design
- The blocky shape needed to be more committed to
- Using the full body of the beaver, including the tail, would make it hard to compact later on if I wanted to make it less like an illustration and more like a logo
All of those helped me create the finalized logo that met the needs of the brand.

Logotype
Most logos will come with text representing the name of the brand. I played with some tooth motifs in the letters but ultimately went simpler with it. Once I found the perfect font, I would start combining the two.

Combination Mark
I made a vertical and horizontal version, as it’s good to have both to choose from depending on what needs made. For example, a horizonal version may work well for print, while the vertical is ideal for app design.

My Finalized Logo (With Color!)

Hope you enjoyed reading about my process! Check out my other blog posts to hear more about topics surrounding graphic design!
Leave a Reply