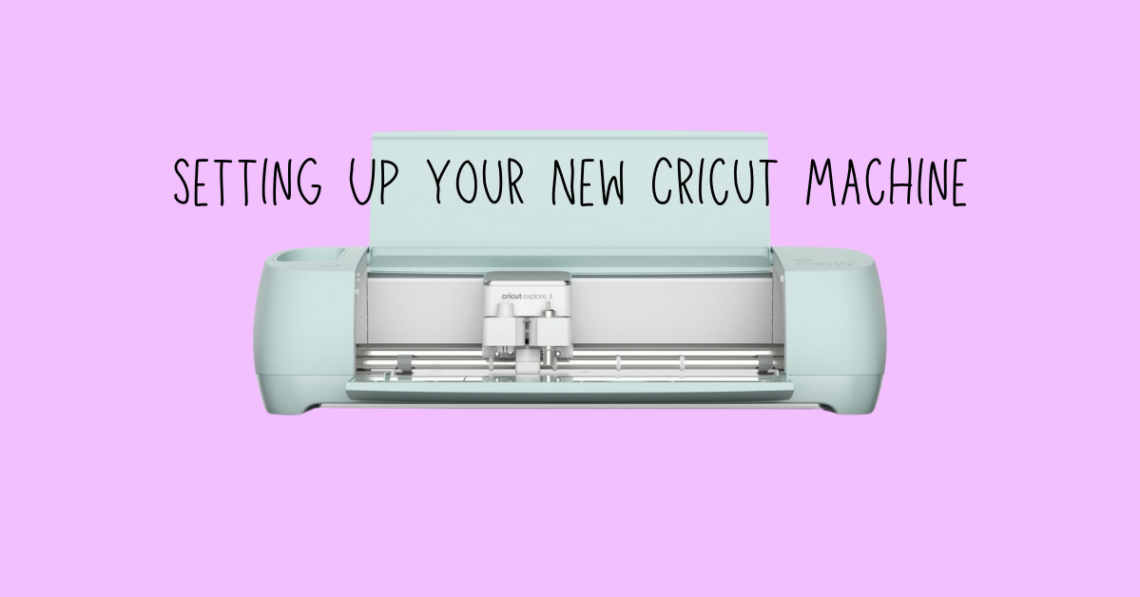
This post is going to be a super short and easy tutorial on how to set up your Cricut Maker overall. This process is super easy and should take very little amount of time to do!
1. Power On Your Cricut
The first step is to plug in your machine and press and hold the power button. After turning on, the button should turn blue and then turn white.
2. Connecting your Cricut to your Device
There are two different ways to connect your device. One way is through a USB connection or through Bluetooth. I have mine set up through bluetooth but it is up to you on how you want it connected. You may need a pairing code, but there should be one in your packet of instructions if needed.
For Bluetooth: You want to navigate to your bluetooth settings and select add a device. Here, your Cricut Maker should appear and should be able to pair it.
For USB connection: You should be able to just plug it in to a USB port on your laptop to be connected
3. Setting Up and Registering Your Device
Next, you will want to go to design.cricut.com/setup in your browser. Here you will follow the instructions to set up your account.
4. Download Design Space
The first step to this set up is to download Design Space. Here is a link to an article created by Cricut to help with the download of the app.
5. Set up Account
Continue to follow the instructions to help with the setup of your machine. During this step, you will need to follow the instructions to create a Cricut ID as well as to set up the machine.
6. Run a test cut
If everything has gone smoothly, your design space will prompt you to run a test cut to make sure your machine is running smoothly. Once you pass this step, you will have successfully set up your new Cricut Machine.
Hopefully this helps on setting up your new Cricut Maker!


